
使用Github开源项目 face_recognition 作为人脸识别库
部署文档:face_recognition/README_Simplified_Chinese.md at master · ageitgey/face_recognition · GitHub
Step.1 安装Python3&pip3※
使用以下命令安装Python3与pip3
apt install python3 pip3 -yStep.2 使用pip3安装人脸识别库(face_recognition)※
使用以下命令安装face_recognition 第三方库
pip3 install face_recognition opencv-pythonERROR.报错排除:因为缺失cmake导致无法安装dlib库※
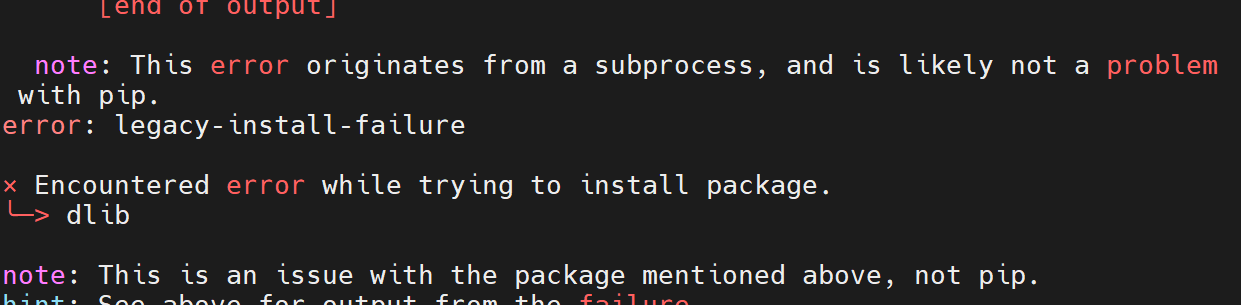
安装库时提示,在安装dlib包时出现错误,尝试单独安装dlib
pip3 install dlib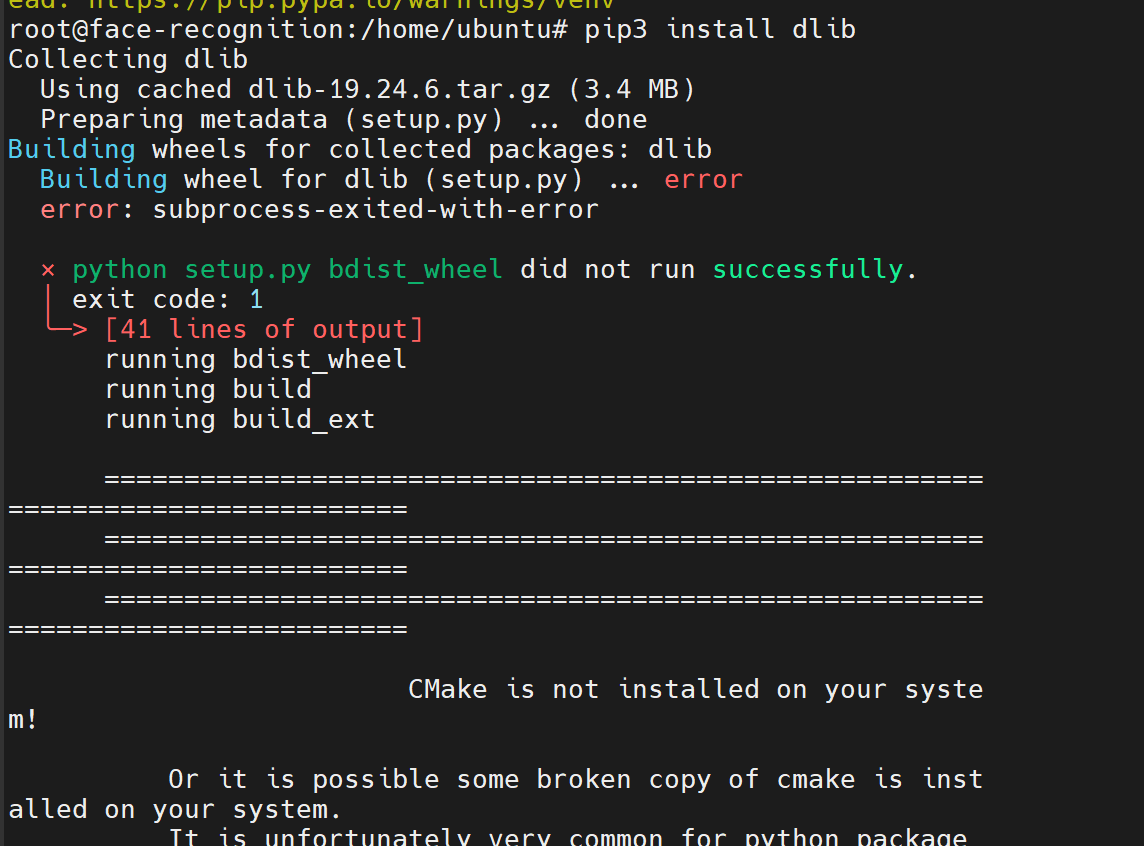
报错底部给出了指引 缺失CMake,因此使用命令安装cmake
apt update
apt-get install cmake -y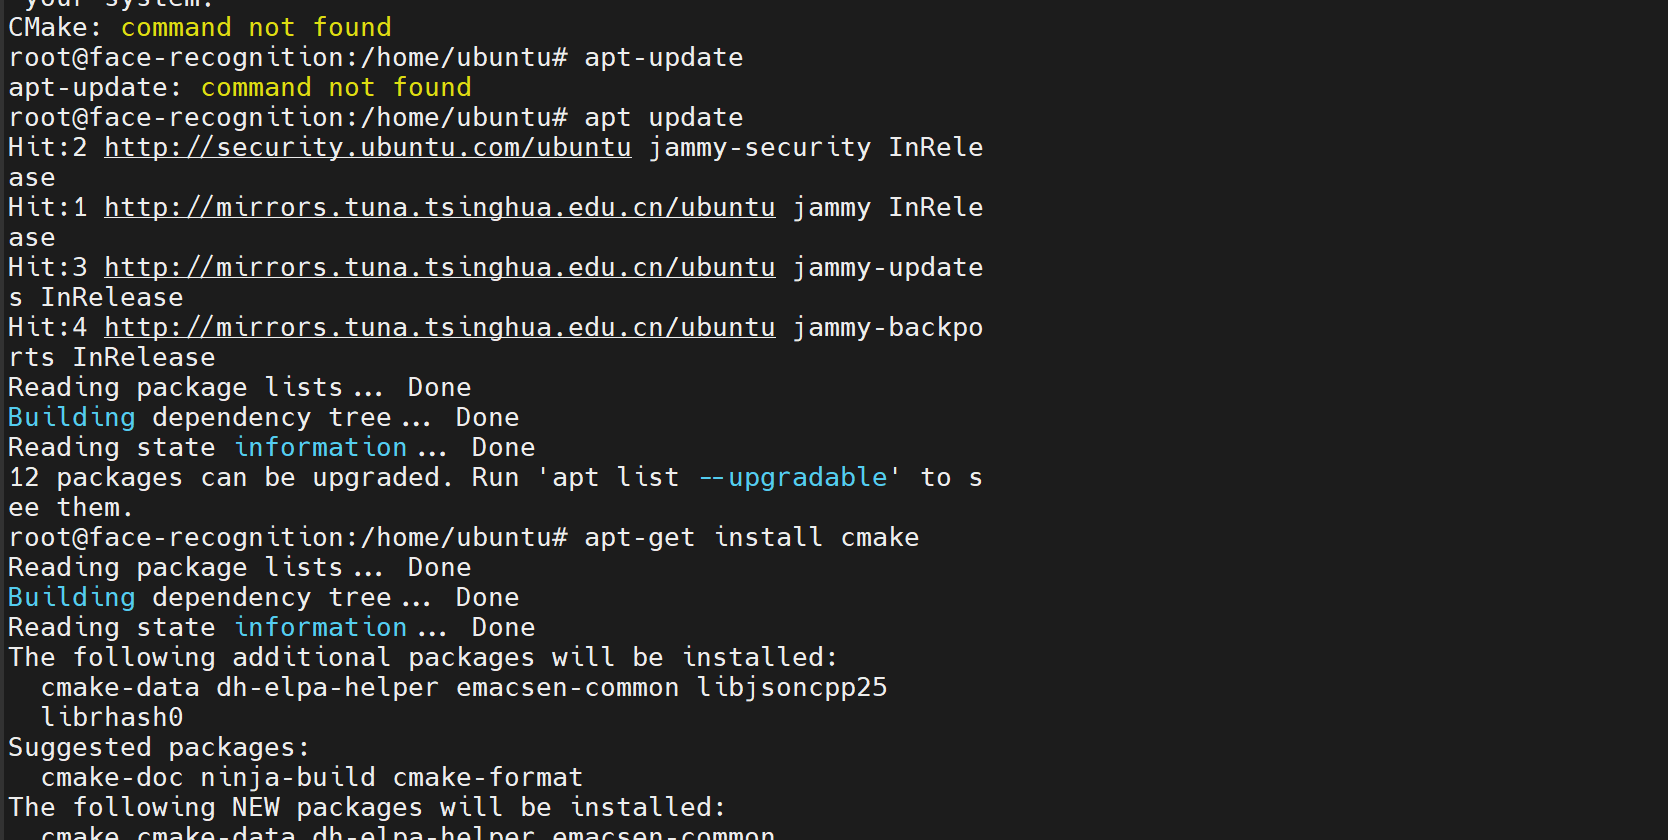
重新安装dlib库
pip install dlib
成功安装dlib库,无报错,再执行pip3 install face_recognition命令安装人脸识别第三方库

安装成功!
Step.3 安装Jupyter Notebook※
使用命令安装jupyter Notebook
apt install jupyter -y生成配置文件
jupyter notebook --generate-config
生成了配置文件位于 /root/.jupyter/jupyter_notebook_config.py
配置密码
jupyter notebook password
查看加密后的密码
cat ~/.jupyter/jupyter_server_config.json复制,加密后的密码,备用

修改配置文件
vim ~/.jupyter/jupyter_notebook_config.py修改第652行的,取消注释c.ServerApp.allow_remote_access = False 并修改为 True
修改第940行的c.ServerApp.open_browser = False
取消注释第944行,将密码填入
c.ServerApp.password = ‘刚复制的密码’
取消注释并修改第952行的c.ServerApp.port = 0 将0 修改成你想要的端口号
取消注释并修改第836行的c.ServerApp.ip = ‘localhost’为0.0.0.0
完成后。启动程序
jupyter notebook
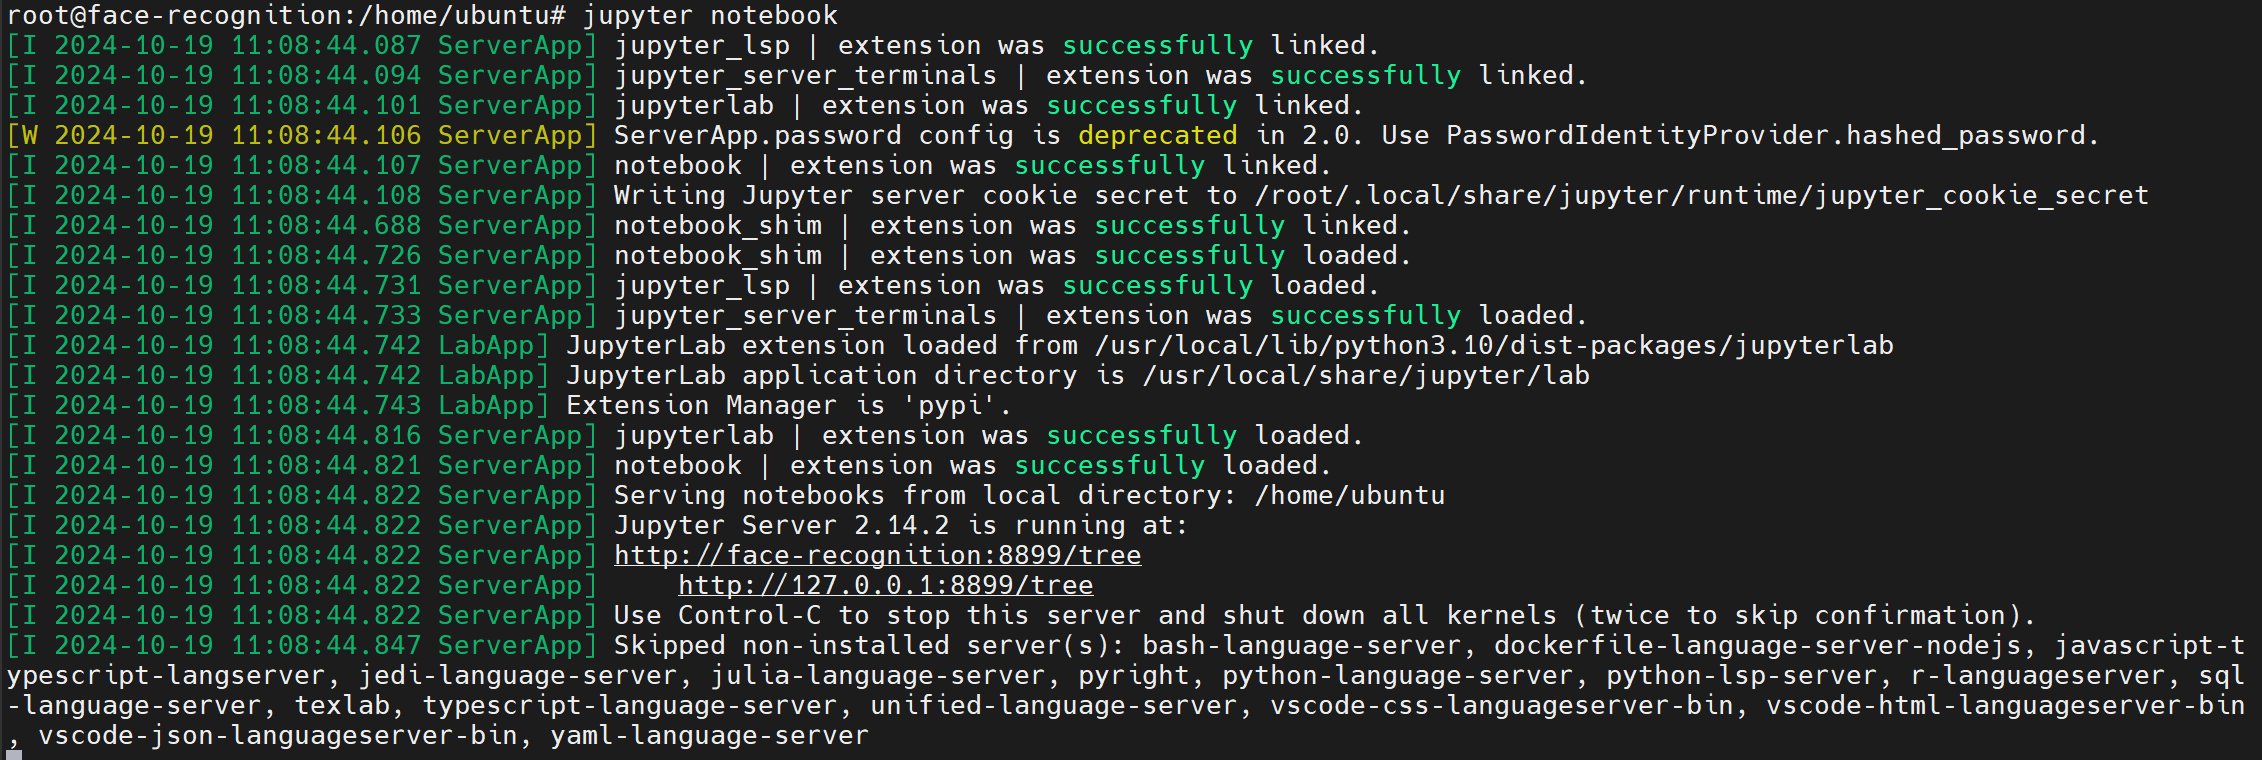
启动成功,访问刚刚设置的端口号
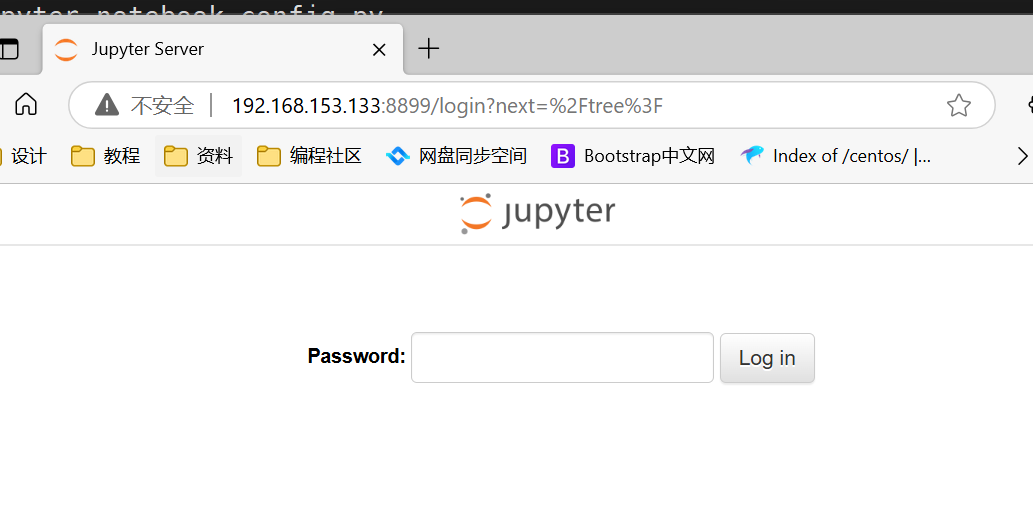
输入刚刚设置的密码,登录
Step.4 实现服务化,自启动※
sudo vim /etc/systemd/system/jupyter.service[Unit]
Description=Jupyter Notebook Service
After=network.target
[Service]
User=your_username
Group=your_username
WorkingDirectory=/home/your_username
ExecStart=/usr/bin/python3 -m jupyter notebook --config=/home/your_username/.jupyter/jupyter_notebook_config.py
Restart=always
[Install]
WantedBy=multi-user.target
systemctl start jupyter
systemctl enable jupyter 报错ImportError: libGL.so.1: cannot open shared object file: No such file or directory
sudo apt-get install libgl1-mesa-glx
sudo ldconfig使用cv2.imshow导致崩溃的问题
pip install matplotlib将imshow更换为matplotlib 显示
plt.imshow(cv2.cvtColor(image, cv2.COLOR_BGR2RGB))
plt.title('my picture')
plt.show()
+